Instructional Guide on How to Use OneDrive on Desktop

Before using OneDrive on desktop, ensure that the OneDrive desktop application has already been installed on your computer.

Note: If your computer is running on Windows 10, then OneDrive is already installed on your computer. Otherwise, if you would need to download and install the OneDrive application using your UKZN student account, click here to see a guide.

Uploading Files to OneDrive


OneDrive integrates with File Explorer, making the process of uploading files straightforward. Just follow these steps:

  1. Open File Explorer.
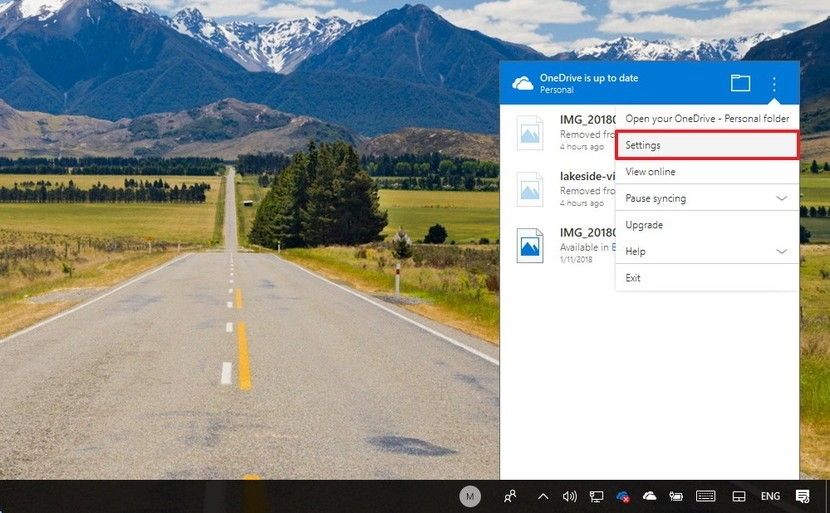
  2. Click the OneDrive folder using the left pane. OR simply type and search for “OneDrive” on your computer.

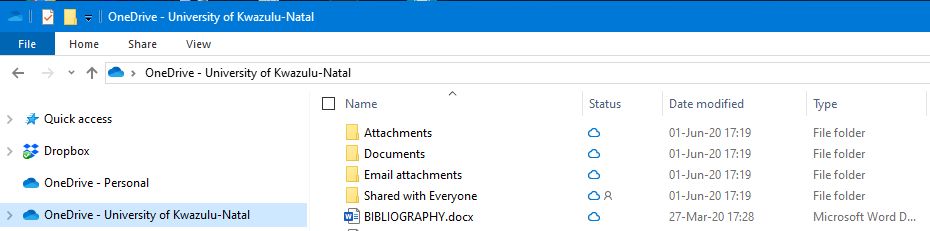
Note: If you have multiple accounts configured on your device, the folders will be named accordingly: OneDrive – Personal for your regular account, and OneDrive – Family for business accounts. 

However, for a UKZN account, your folder should be named as OneDrive – University of KwaZulu-Natal.


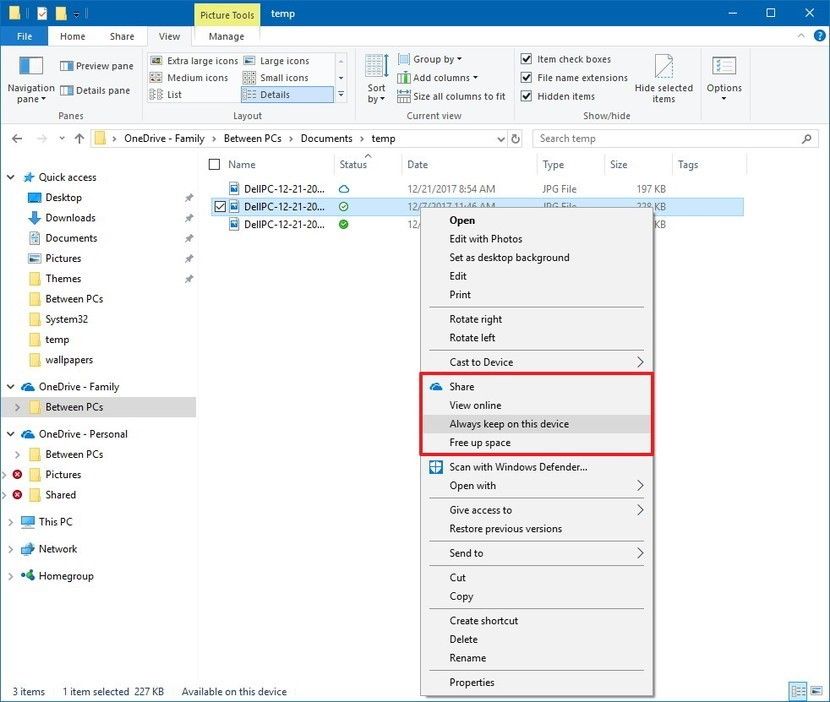
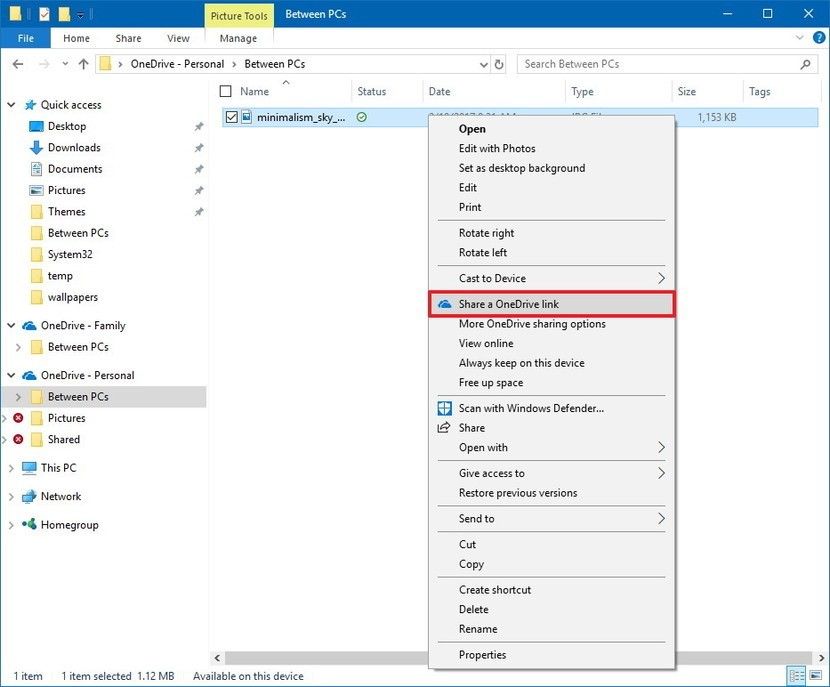
  1. Drag and drop or copy and paste content into the OneDrive folder.


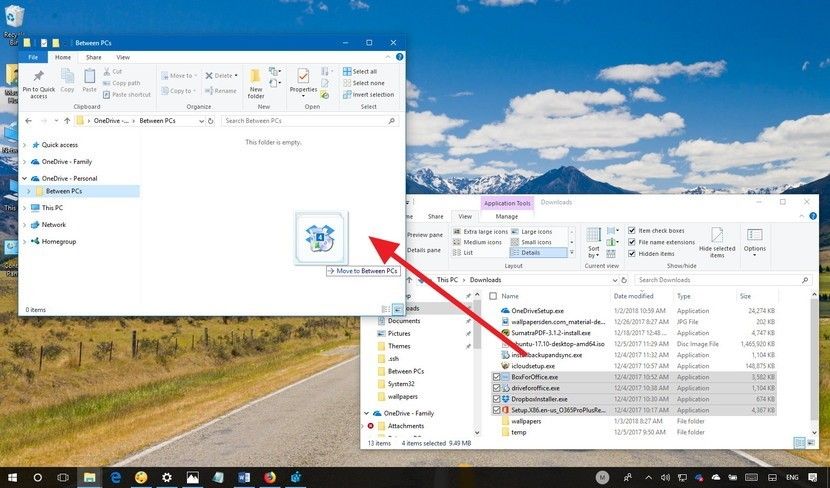
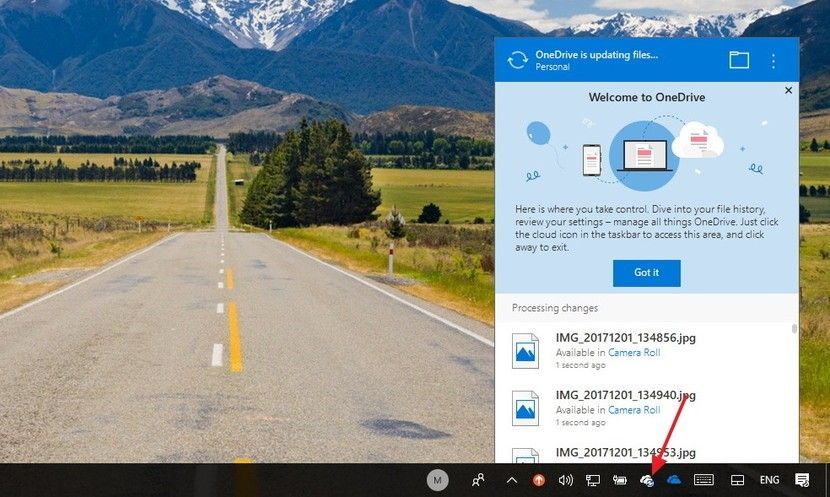
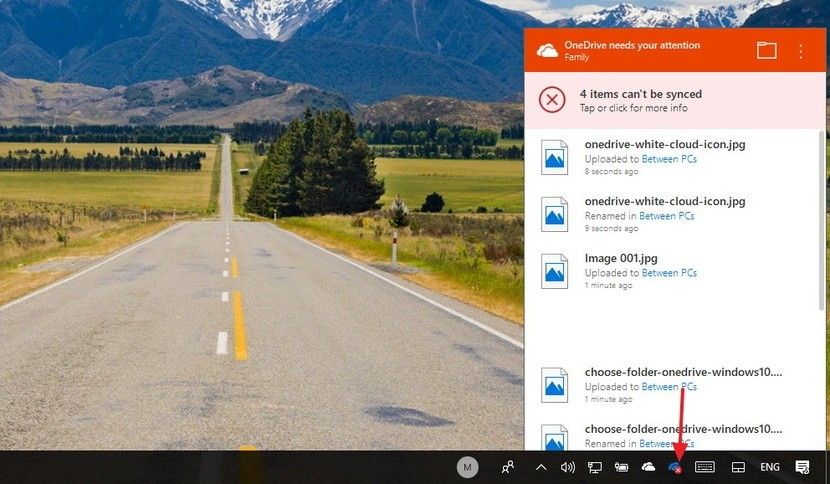
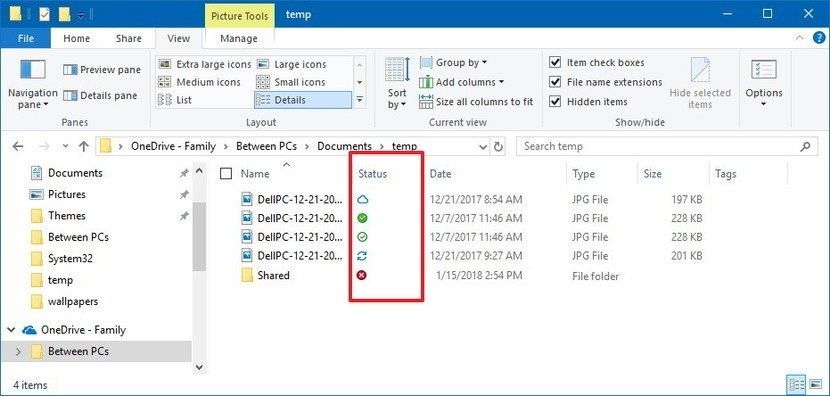
After placing the new files and folders into OneDrive, the client will automatically sync them to your student (Microsoft) account in the background.

Quick Tip: In the future, instead of continually relocating files, remember that within the application, you can always save the files you are working on directly to the OneDrive folder.

How To Choose Which Folders To Sync From OneDrive


If you want to specify which folders stored in the cloud should be accessible from your computer, do the following:

  1. Click the cloud icon in the notification area.
  2. Click the three-dotted menu button in the top-right corner.
  3. Click Settings.


  1. In the “Account” tab, click the Choose folders button.


  1. Clear the Make all files available option.
  2. Check the folders you want to make visible.
  3. Click OK.
  1. Click OK again.

Once you complete these steps, only the files and folders you specified will be visible from your device. However, you will be able to access the content you did not specify using the OneDrive experience on the web. You can use the same instructions to add or remove content as needed.

How To Understand the Sync Status of OneDrive Files

OneDrive uses at least 10 different badges to inform users about the status of the app and file syncing.

OneDrive Icon Status

  • Solid white cloud icon — OneDrive is running without problems and sync is up-to-date.


  • Solid blue cloud icon — Indicates that a “OneDrive for business” account is configured. The sync is up-to-date, and there are no problems.


  • Solid grey cloud icon — OneDrive is running but is not connected to any account, or you are signed out.


  • Cloud icon with arrows forming a circle — OneDrive is actively downloading or uploading files and folders to the cloud.


  • Solid red with white X icon — OneDrive is running, but there are sync problems that require your attention.


Files and Folders Statuses

  • White cloud with blue borders icon — Indicates that the file is only available when you are connected to the internet, and it is not using local storage. You will need to double-click the file to finish the download and open with an application.
  • White icon with green borders and check mark icon — File is available offline, you can open them without an internet connection, and they are taking up local storage space.
  • Solid green with white check mark icon — You will see this status badge when using the “Always keep on this device” option to ensure important files are available offline.
  • Solid red with white X icon — Alerts you that there is a problem trying to sync a particular folder or file.
  • Cloud icon with arrows forming a circle — Indicates that a file is currently syncing.


How To Access OneDrive Files On-Demand

OneDrive Files On-Demand helps you access all your files in OneDrive without having to download all of them and use storage space on your Windows device. This article is about Windows, but you can use Files On-Demand on Mac, too.

When you turn on Files On-Demand, you will see all your files in File Explorer and get new information about each file. New files created online or on another device appear as online-only files, which do not take up space on your device. When you are connected to the Internet, you will be able to use the files like every other file on your device.

However, you will need an Internet connection to open files that you do not explicitly make available offline, or you did not already open.

You can enable OneDrive Files On-Demand using these steps:

  1. Click the cloud icon in the notification area.
  2. Click the three-dotted menu button in the top-right corner.
  3. Click on Settings.
  1. Click the Settings tab.
  2. Under “Files On-Demand,” check the Save space and download files as you use them option.
  1. Click OK.

Once you complete these steps, OneDrive Files On-Demand will be enabled on your device. You can then right-click files or folders and:

  • Select the Free up space option to make a file only available with an Internet connection.
  • Select the Always keep on this device option to ensure the content is always available offline.


How To Share Files Using OneDrive


Another great feature that OneDrive offers is an easy way to share files with family, friends, or coworkers.

Instead of making a copy using a USB drive or sending email to other people, OneDrive on Windows 10 allows you to quickly share virtually any files by creating a secure link that others can use to access the content.

There are multiple ways to share files using OneDrive, but the steps to get started are listed below.

Sharing Files Without a “OneDrive For Business” Account

If you are using a regular OneDrive account, you can share files using Windows 10, but to manage sharing permissions, you will need to use the web experience. Here’s how:

  1. Open OneDrive.
  2. Browse the path that includes the file you want to share.
  3. Right-click the file and click the Share a OneDrive link option.


After completing the steps, a unique link to the file (or folder) will be created and copied to the clipboard. You can just right-click, paste, and send the link using email, social media, or another messaging service.

For further information on how to use OneDrive, please click here.

iSiZulu Version»